How to install the accessibility widget in Shopify

Installing the WCAG Widget in Shopify
Step 1: Register your website and generate a token
If you are installing the plugin for the first time, register (opens in a new tab) using Google, Facebook or use your own email address and password.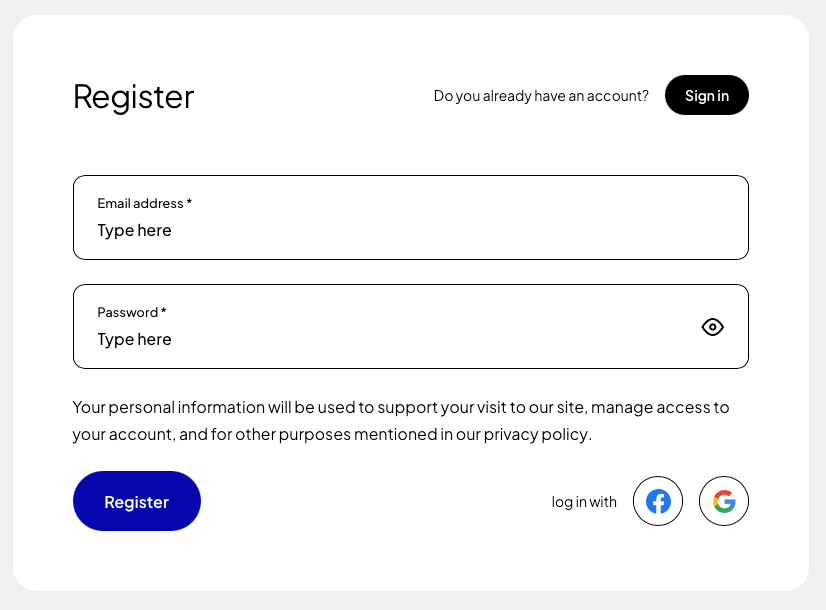 After creating an account, go to the “My Sites” tab, and then click the button “Add new” (opens in a new tab).
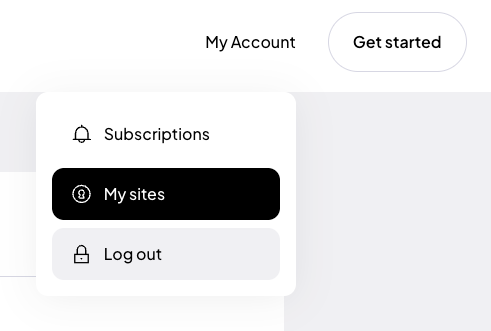 In the form for adding a new page, enter the addresses of the websites where you want to apply the token. If your site runs on a domain such as example .com and e.g. www. example.com then it is necessary to add both addresses. Read more about this in the documentation (opens in a new tab).
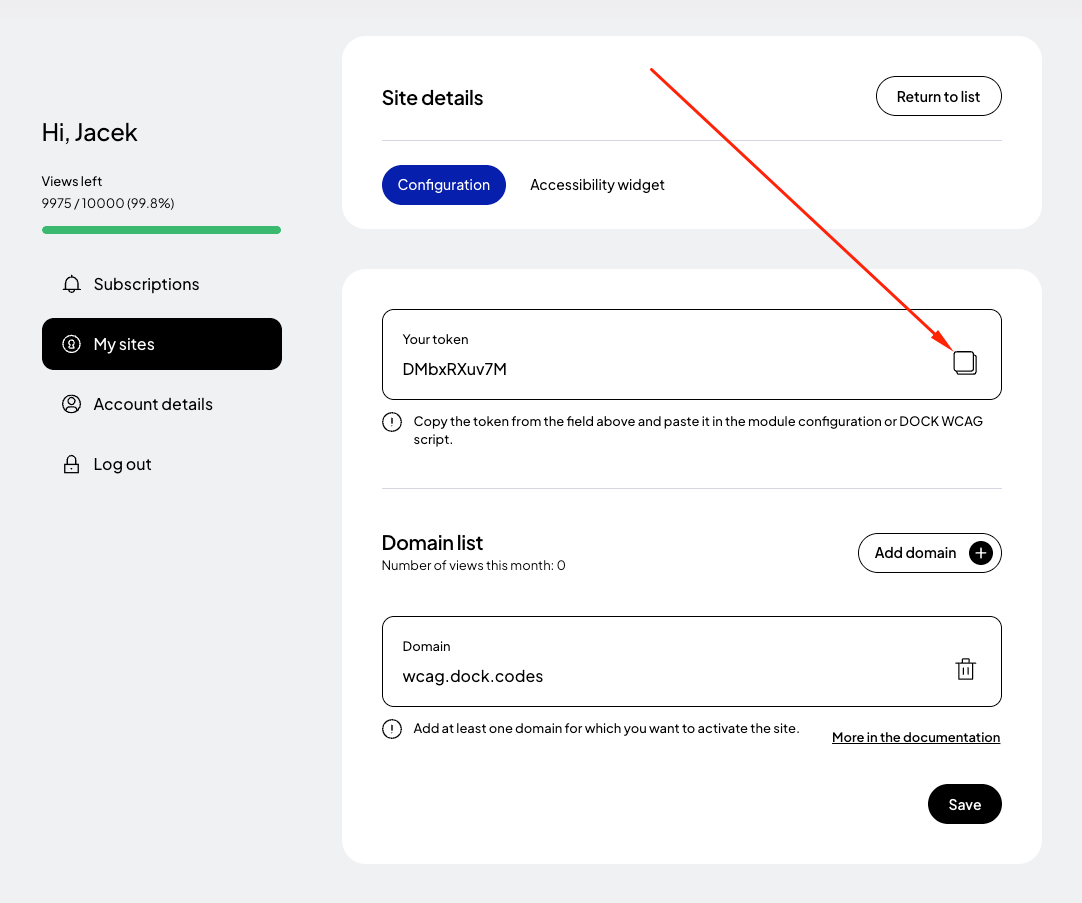
Finally, click the "Save" button and copy the generated token.
In the form for adding a new page, enter the addresses of the websites where you want to apply the token. If your site runs on a domain such as example .com and e.g. www. example.com then it is necessary to add both addresses. Read more about this in the documentation (opens in a new tab).
Finally, click the "Save" button and copy the generated token.
Step 2: Open the Shopify theme editor
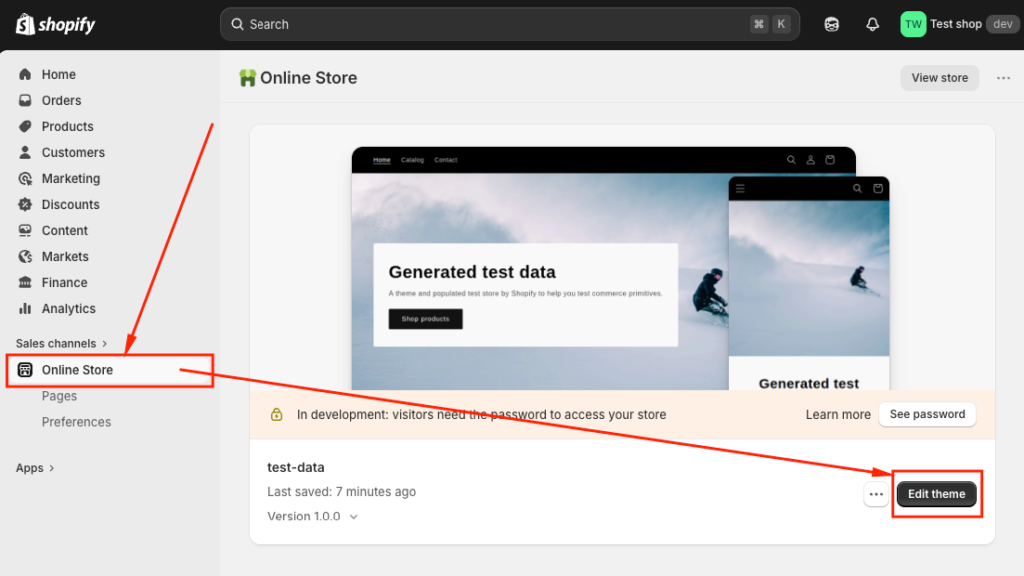
Log in to your Shopify admin panel, then navigate to Sales channels → Online Store
For your active theme, click the button Edit theme
Step 3: Add a Custom Liquid block
In the theme editor, click Add section, then search for and add the block „Custom Liquid”
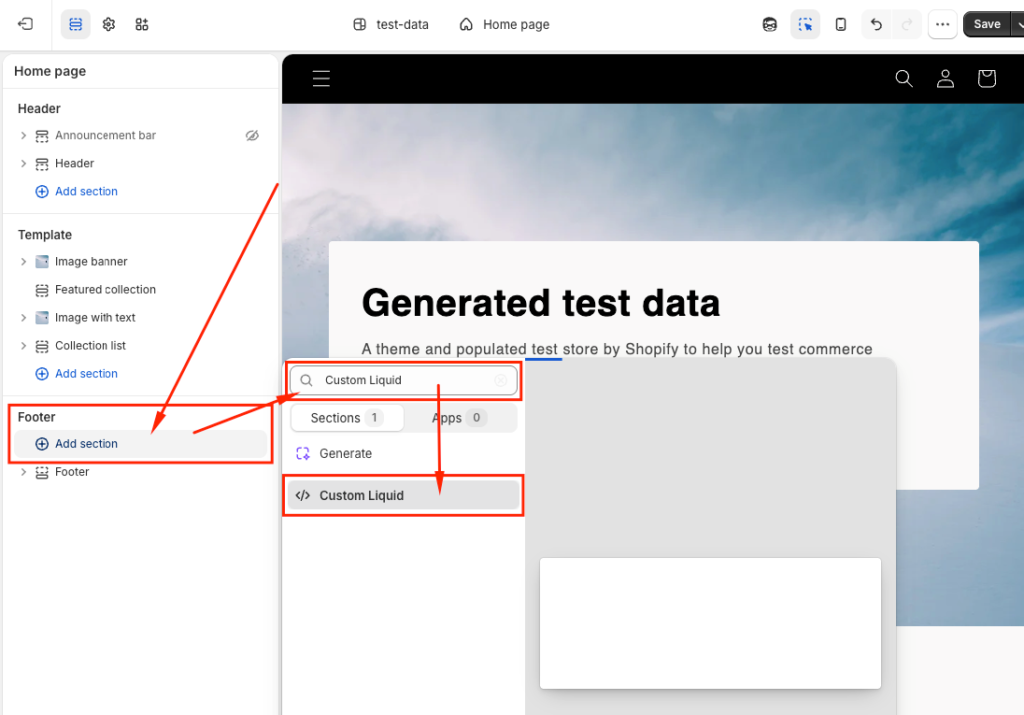
Step 4: Paste the widget code
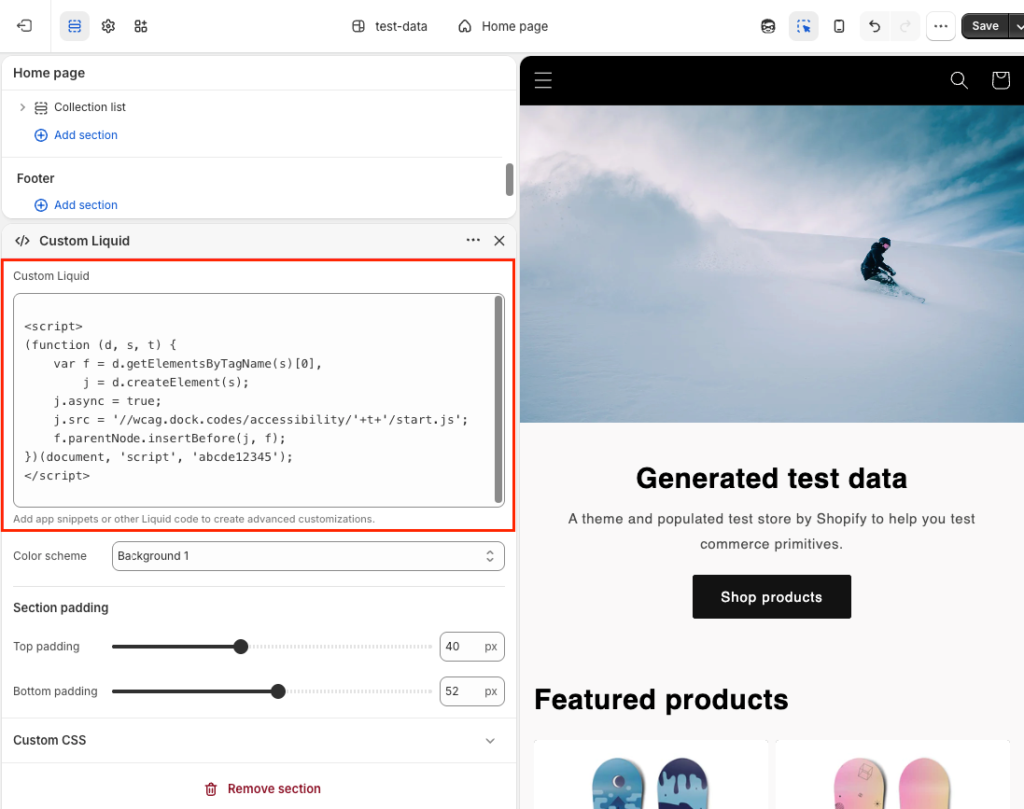
Paste the following code into the Custom Liquid field:
Replace _TOKEN_ with your unique token generated in the previous step.
Step 5: Save changes
Click the Save button in the top-right corner of the Shopify editor.
Step 6: Verify the widget installation
After saving the changes, refresh your website and make sure the WCAG widget has loaded correctly. Test all widget features to confirm the installation was successful. You can find more information about widget configuration in the documentation (opens in a new tab).
Related posts
- How to install the accessibility widget in Joomla
- Accessibility widget script
- How to install the accessibility widget in MODX
- How to install the accessibility widget in Prestashop
- How to install the accessibility widget in WordPress
Still looking for answers?
Ask our experts using online chat