How to install the accessibility widget in Webflow

Plugin installation
Step 1: Register your site and obtain a token
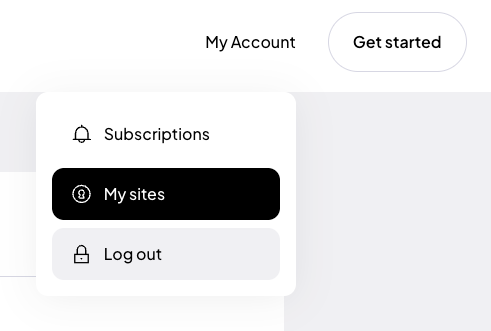
If you are installing the plugin for the first time, register using Google, Facebook or use your own email address and password.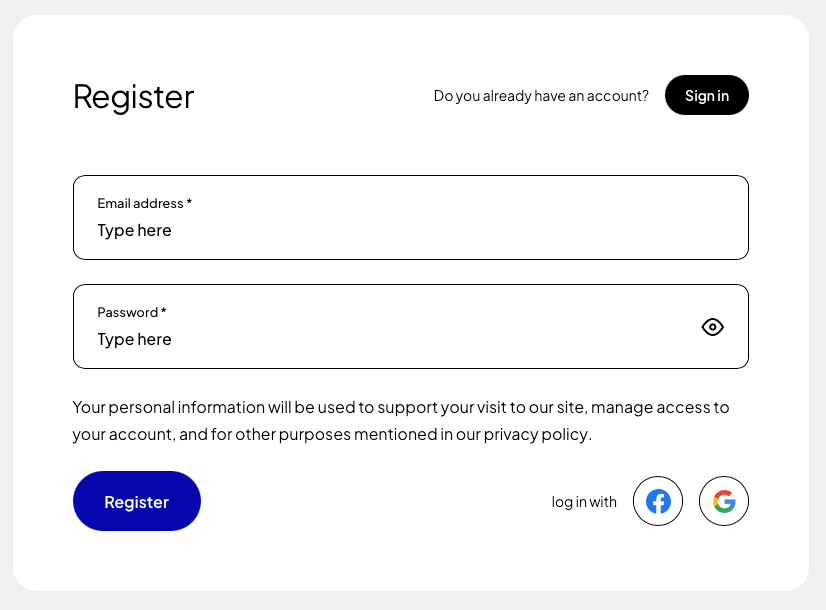 After creating an account, go to the “My Sites” tab, and then click the button “Add new”.
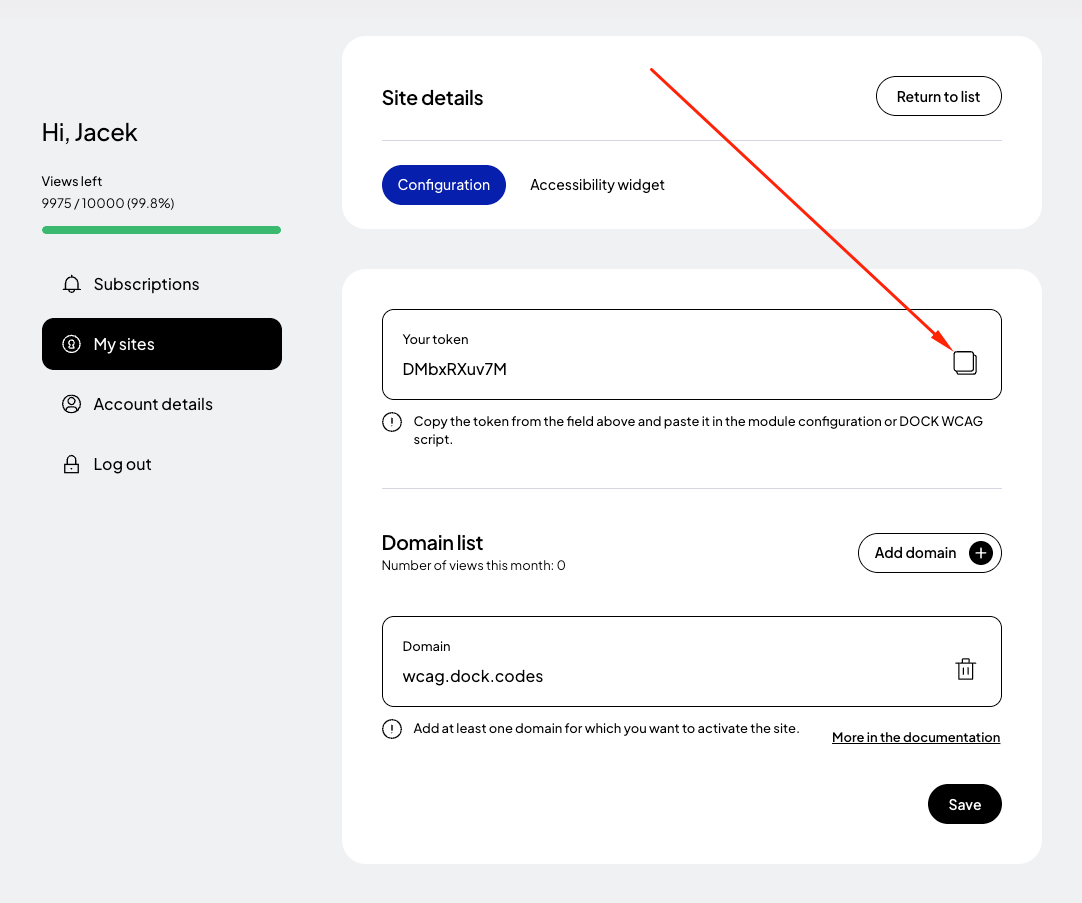
 In the form for adding a new page, enter the addresses of the websites where you want to apply the token. If your site runs on a domain such as example .com and e.g. www. example.com then it is necessary to add both addresses. Read more about this in the documentation.
Finally, click the "Save" button and copy the generated token.
In the form for adding a new page, enter the addresses of the websites where you want to apply the token. If your site runs on a domain such as example .com and e.g. www. example.com then it is necessary to add both addresses. Read more about this in the documentation.
Finally, click the "Save" button and copy the generated token.
Step 2: Adding the DockWCAG widget in Webflow
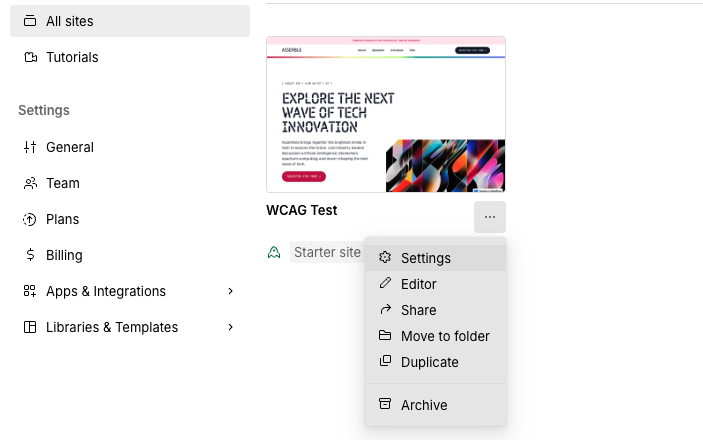
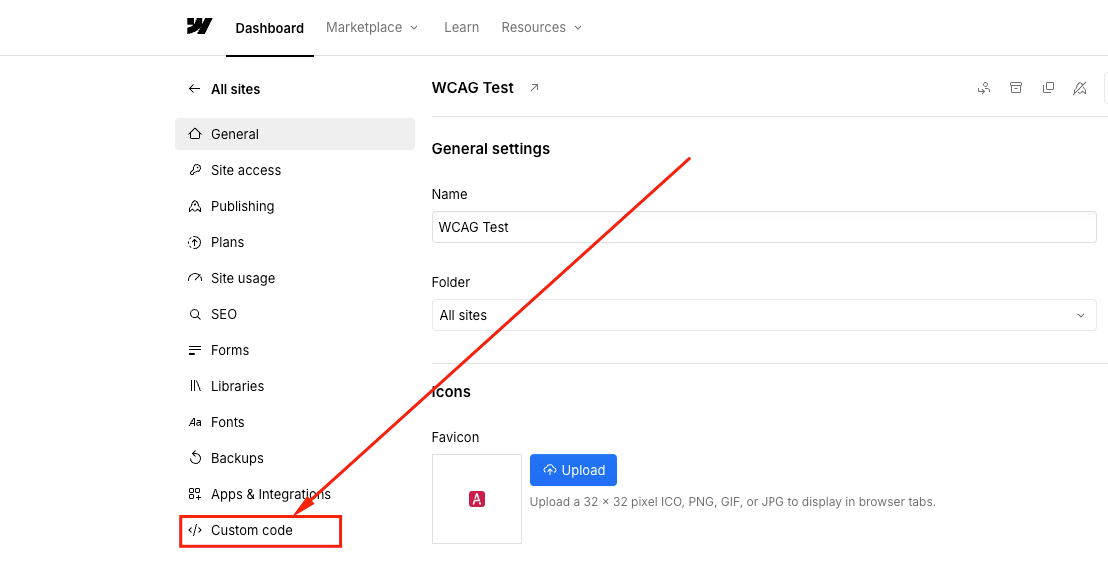
To add a widget in Webflow, go to the list of pages, then from the context menu next to the page, click “Settings.”
Then go to the “Custom Code” tab

And in the “Footer Code” field, paste the following code:
<script>
    (function (d, s, t) {
        var f = d.getElementsByTagName(s)[0],
            j = d.createElement(s);
        j.async = true;
        j.src = '//wcag.dock.codes/accessibility/' + t + '/start.js';
        f.parentNode.insertBefore(j, f);
    })(document, 'script', '_TOKEN_');
</script>
Paste code and replace _TOKEN_ with your unique token that was generated in the previous step.
For more on how to configure the widget, see the documentation.
Step 3: Preview the site
After adding the script, test your site to make sure the widget is properly installed and works as expected. Check all the widget’s functions to verify that the installation was successful.