How to install the accessibility widget in Laravel
This guide walks you through the installation process of the package and configuration of the WCAG accessibility widget in your Laravel application.
Step 1: Package installation
In a Laravel environment, the recommended way to install packages is using Composer.
- Install the package:Open your terminal in the root directory of your Laravel application and run:
composer require dockcodes/assistforwcag - Publish configuration file:After installation, publish the package configuration file:
php artisan vendor:publish --provider="Dock\\AssistForWCAG\\DockServiceProvider" --tag="config"
Step 2: Website registration and token generation
To allow the widget to connect to the service, you need to generate a unique API token.
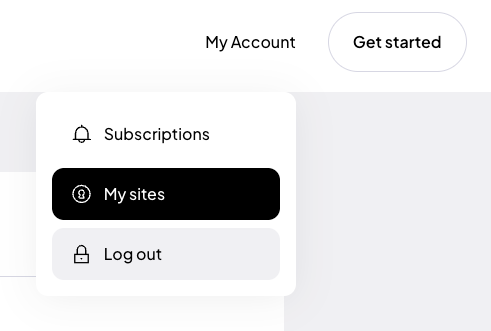
If you are installing the plugin for the first time, register using Google, Facebook or use your own email address and password.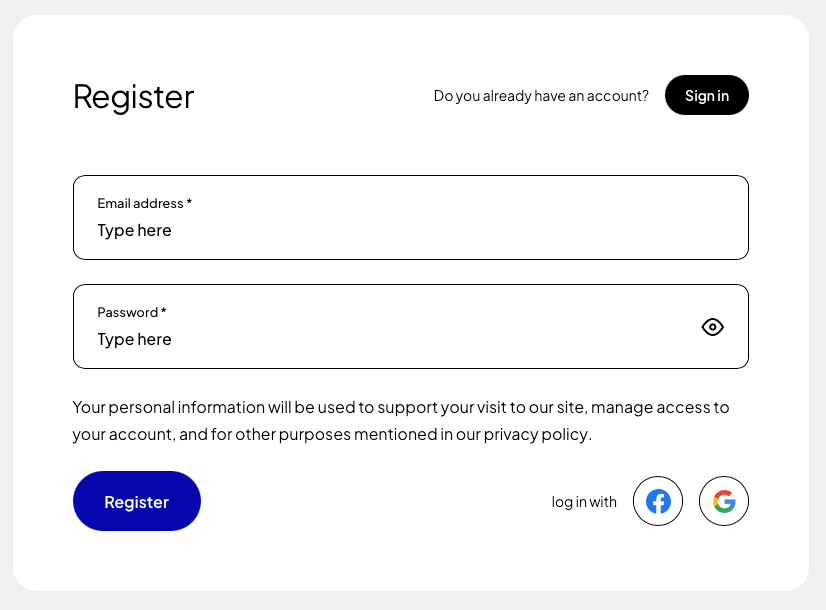 After creating an account, go to the “My Sites” tab, and then click the button “Add new”.
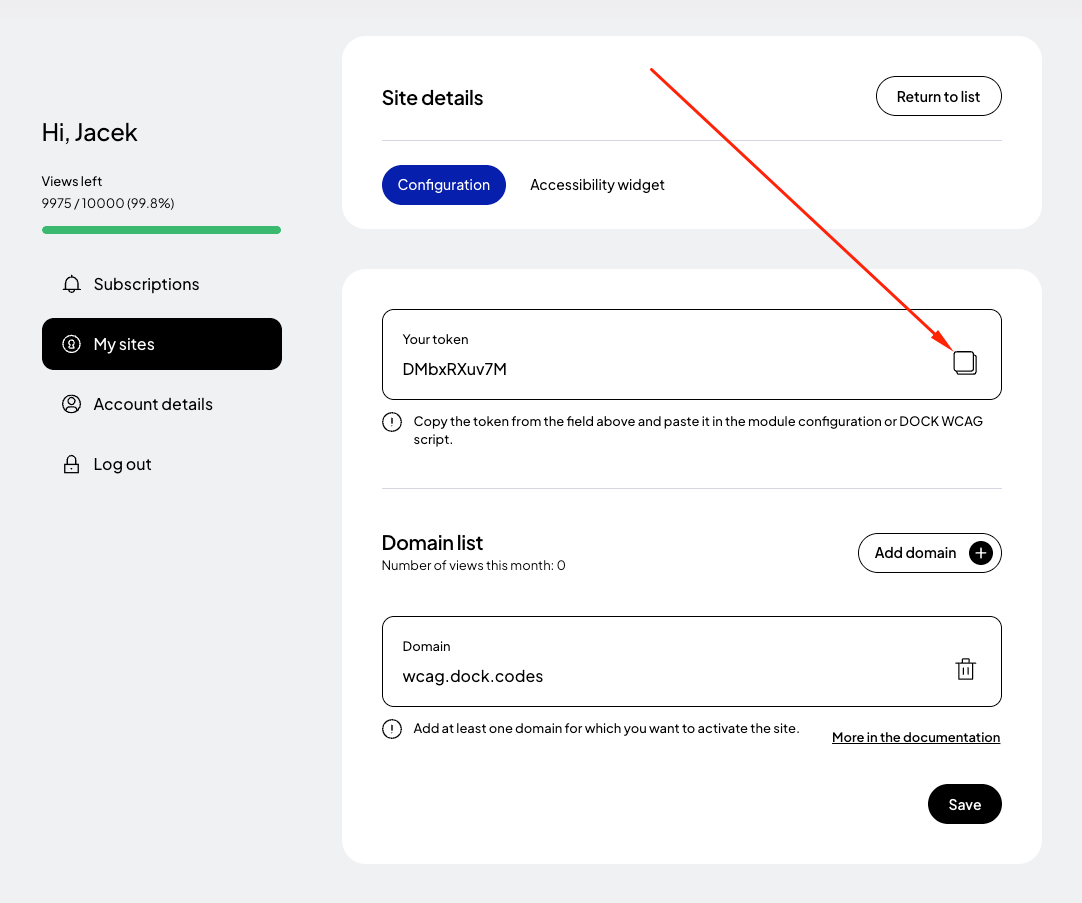
 In the form for adding a new page, enter the addresses of the websites where you want to apply the token. If your site runs on a domain such as example .com and e.g. www. example.com then it is necessary to add both addresses. Read more about this in the documentation.
Finally, click the "Save" button and copy the generated token.
In the form for adding a new page, enter the addresses of the websites where you want to apply the token. If your site runs on a domain such as example .com and e.g. www. example.com then it is necessary to add both addresses. Read more about this in the documentation.
Finally, click the "Save" button and copy the generated token.
Step 3: Token configuration
After generating your token, add it to your Laravel environment configuration file.
- Open the
.envfile located in the root directory of your application. - Add the following entry:
ASSIST_FOR_WCAG_TOKEN="[Paste your token here]" - Save the file.
Step 4: Adding the widget to your application
The package provides a Blade directive that allows you to easily embed the widget anywhere in your application.
- Open your main Blade layout file, for example:
resources/views/layouts/app.blade.php - Insert the
@assistForWCAGdirective before the closing</body>tag:<body> @assistForWCAG </body>
Step 5: Clear configuration cache
After making changes, it is recommended to clear Laravel’s cache:
php artisan config:clear
php artisan cache:clear
Step 6: Preview your website
After completing the setup, open your website and verify that the accessibility widget is loaded correctly.
Test accessibility features such as:
- text resizing,
- contrast adjustments,
- text-to-speech,
- keyboard navigation,
- WCAG accessibility profiles.
Alternative: Manual installation (without the package)
If you cannot use the Composer package, you can manually integrate the widget into your Laravel application.
- Get your token:Follow the steps described in “Step 2” above.
- Copy the script code:
<script> (function (d, s, t) { var f = d.getElementsByTagName(s)[0], j = d.createElement(s); j.async = true; j.src = '//wcag.dock.codes/accessibility/' + t + '/start.js'; f.parentNode.insertBefore(j, f); })(document, 'script', '_TOKEN_'); </script> - Add the script to your Blade layout:Open your main layout file, for example:
resources/views/layouts/app.blade.phpThen paste the script before the closing
</body>tag. - Replace the token placeholder:Replace
_TOKEN_with your actual token. - Clear cache:
php artisan config:clear
php artisan cache:clear
Once completed, the WCAG accessibility widget will be active in your Laravel application.