How to install the accessibility widget in Drupal
The following instructions will guide you through the process of installing the module and configuring it within the administration panel.
Step 1: Module Installation
In the Drupal environment, the recommended method for installing extensions is using the Composer package manager.
- Download Files:
Open a terminal in the root directory of your Drupal installation and run the following command:composer require drupal/assist_for_wcag - Enable the Module:
After downloading the files, log in to the Drupal administration panel.- Navigate to the Extend tab in the top menu.
- Find the module named Assist for WCAG in the list.
- Check the box next to the module and click the Install button at the bottom of the page.
Step 2: Site Registration and Token Generation
To enable the widget to connect to the service, it is necessary to generate a unique API key (token).
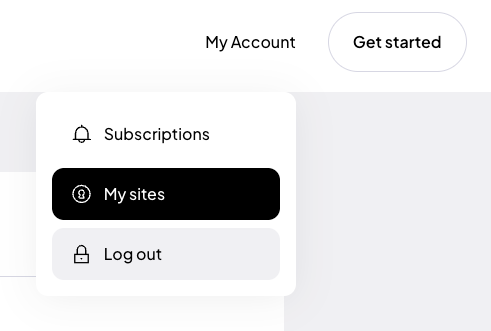
If you are installing the plugin for the first time, register using Google, Facebook or use your own email address and password.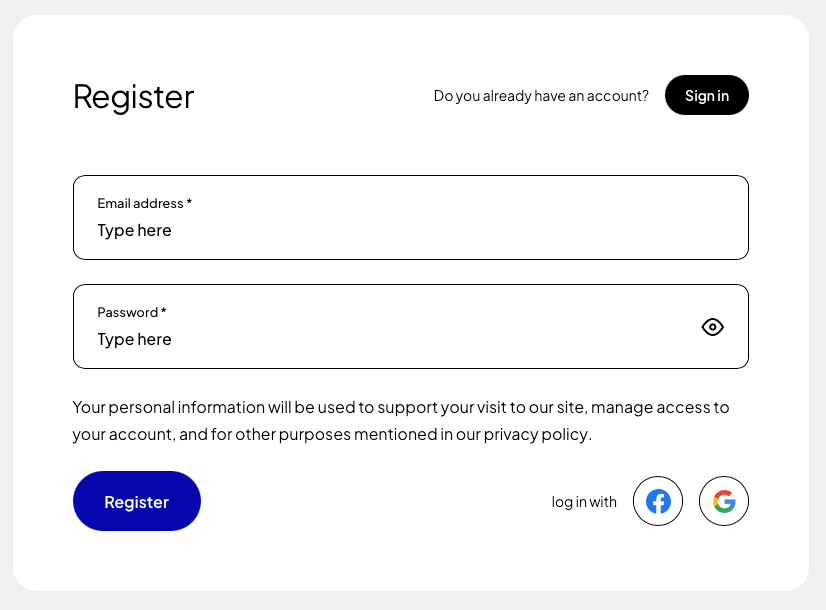 After creating an account, go to the “My Sites” tab, and then click the button “Add new”.
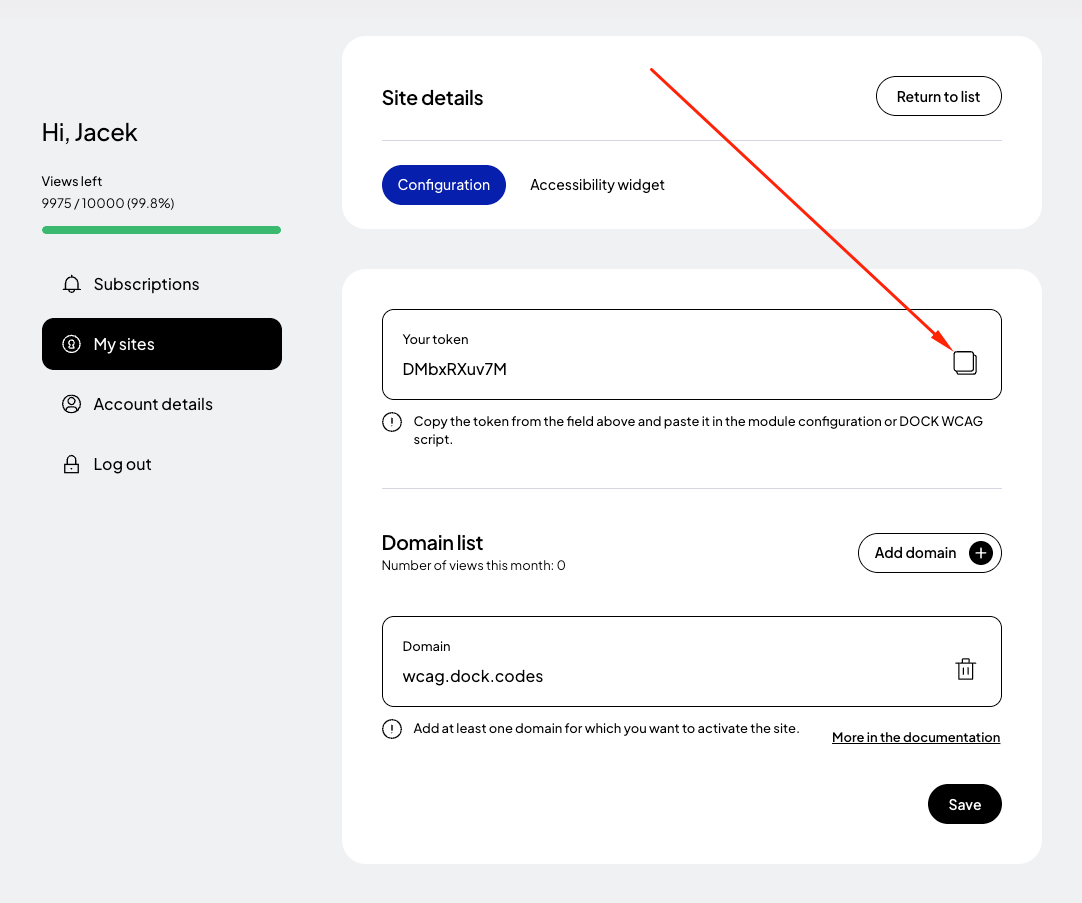
 In the form for adding a new page, enter the addresses of the websites where you want to apply the token. If your site runs on a domain such as example .com and e.g. www. example.com then it is necessary to add both addresses. Read more about this in the documentation.
Finally, click the "Save" button and copy the generated token.
In the form for adding a new page, enter the addresses of the websites where you want to apply the token. If your site runs on a domain such as example .com and e.g. www. example.com then it is necessary to add both addresses. Read more about this in the documentation.
Finally, click the "Save" button and copy the generated token.
Step 3: Configuration and Widget Activation
Once you have your generated token, you must enter it into the module settings in Drupal.
- In the administration panel, go to the Configuration section.
- Locate the section related to the module (usually under “System” or “User Interface”) and click the configuration link for the plugin.
- Paste the previously copied token into the appropriate field.
- Make sure the “Load widget” option is enabled.
- Click the Save configuration button.
Step 4: Cache Clearing and Verification
After saving the settings, it is recommended to clear the Drupal cache to ensure changes are immediately visible to end-users.
- Go to Configuration > Development > Performance.
- Click the Clear all caches button.
Step 5: Site Preview
After completing the installation and clearing the cache, go to your site’s homepage. Test the widget to ensure it loads correctly and that all accessibility features function according to WCAG requirements.
Alternative: Manual Installation (Without Module)
If for some reason you cannot use the dedicated module, you can integrate the widget manually by editing the theme files.
Note: This method requires editing .html.twig template files. We recommend creating a backup before making changes.
- Obtain Token: Follow the instructions in “Step 2” above.
- Copy Script Code:
<script> (function (d, s, t) { var f = d.getElementsByTagName(s)[0], j = d.createElement(s); j.async = true; j.src = '//wcag.dock.codes/accessibility/' + t + '/start.js'; f.parentNode.insertBefore(j, f); })(document, 'script', '_TOKEN_'); </script> - Edit Template:
- Navigate to your active theme folder:
/themes/[your_theme]/templates/. - Find the
html.html.twigfile (this controls the HTML structure of the entire page). - Paste the script just before the closing
</body>tag. - Replace the string
_TOKEN_with your unique token.
- Navigate to your active theme folder:
- Clear Cache: Just as in Step 4 above, clear the Drupal cache to load the changes made to the template files.