How to install the accessibility widget using Google Tag Manager
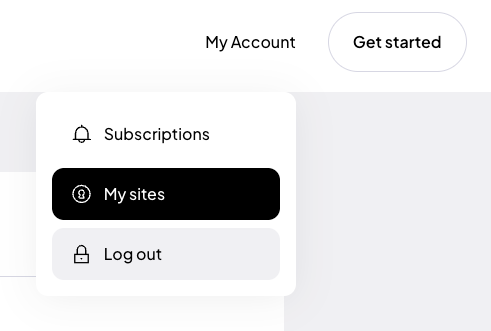
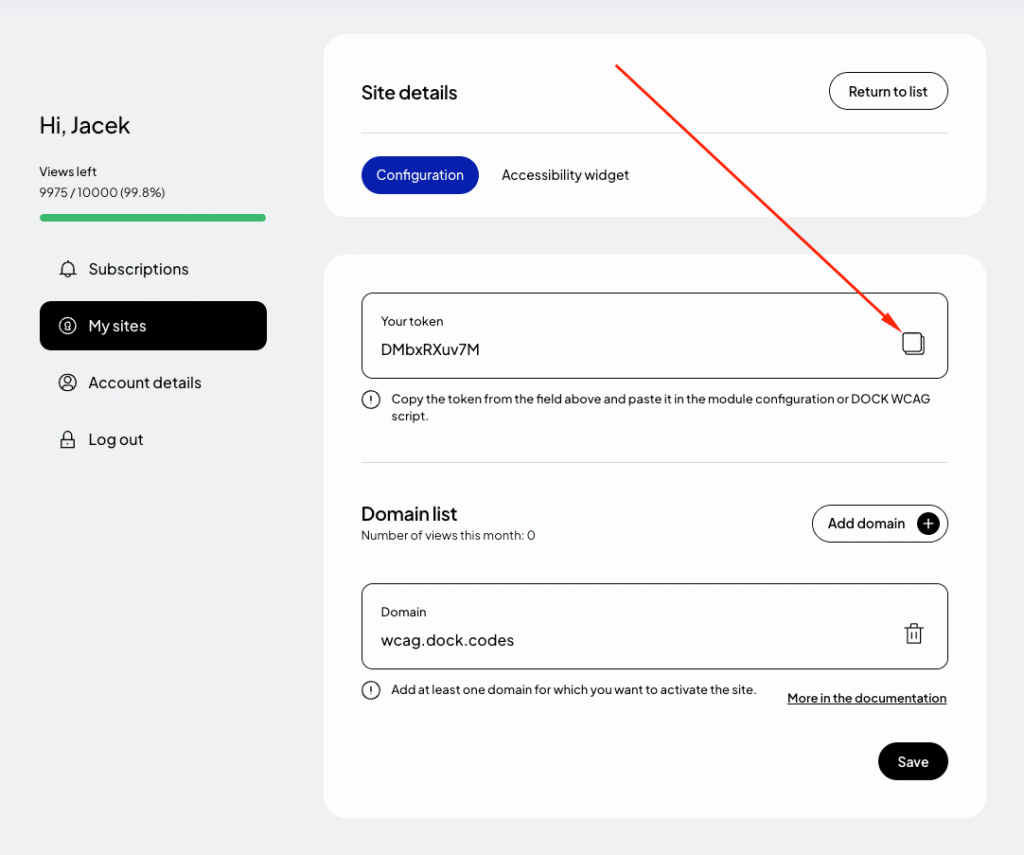
 Step 1: Register your site and obtain a token
If you are installing the plugin for the first time, register using Google, Facebook or use your own email address and password.

Step 2: Adding the DockWCAG widget using GTM
1. Log in to Google Tag Manager
Go to https://tagmanager.google.com/ and select the appropriate container for your website.
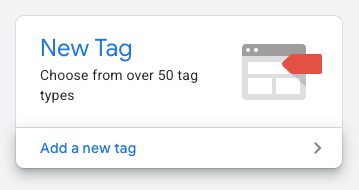
2. Add a new tag
Click the “Add new tag” button.
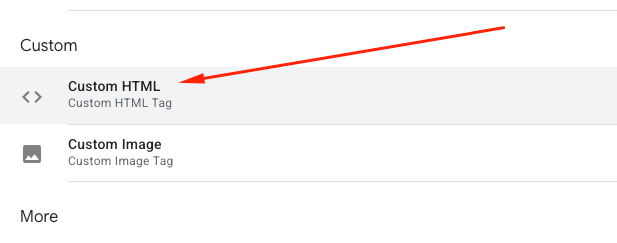
3. Select the tag type – Custom HTML
-
Give the tag a name, e.g.
DockWCAG - Widget. -
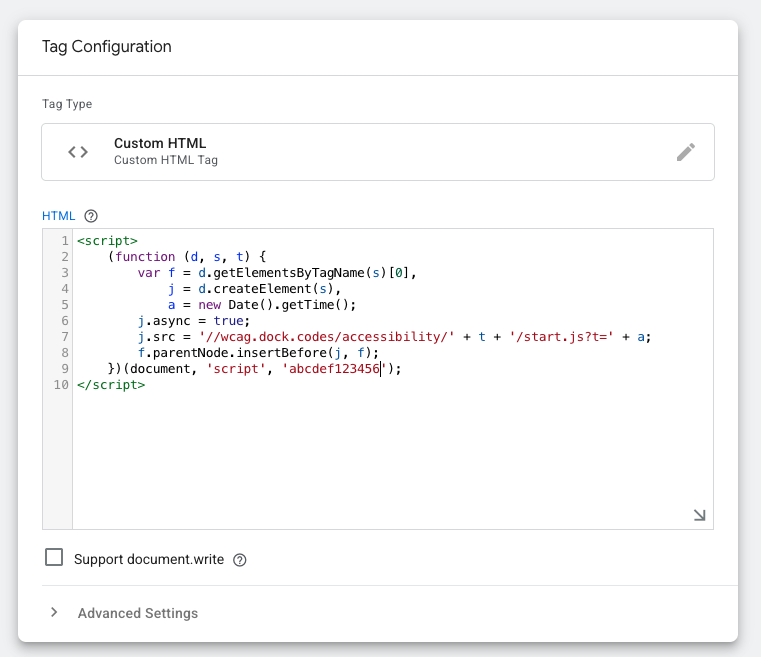
Click on the “Tag configuration” field and select “Custom HTML code.”
4. Paste the widget code
Paste the following code into the HTML editing field and replace _TOKEN_ with your unique token generated in the previous step:
<script>
    (function (d, s, t) {
        var f = d.getElementsByTagName(s)[0],
            j = d.createElement(s);
        j.async = true;
        j.src = '//wcag.dock.codes/accessibility/' + t + '/start.js';
        f.parentNode.insertBefore(j, f);
    })(document, 'script', '_TOKEN_');
</script>
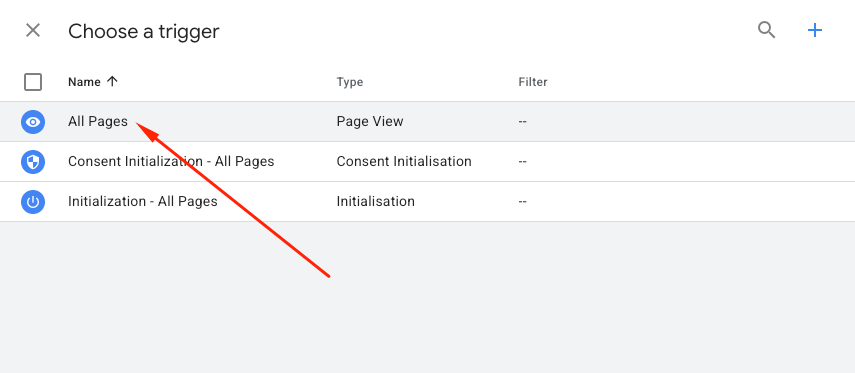
5. Set the startup trigger
Click on the “Triggering” field and select the “All Pages” rule so that the widget loads on every subpage.
6. Save and publish
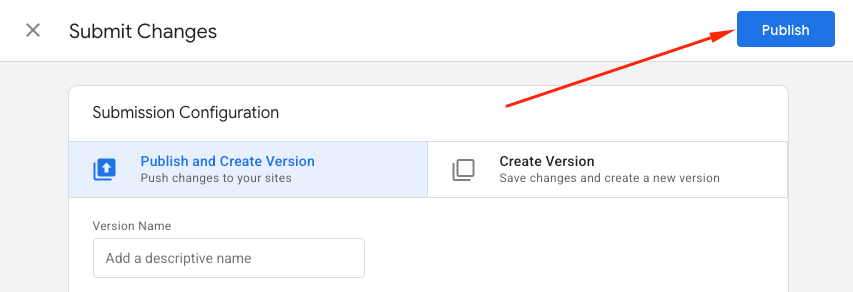
Click “Save,” then ‘Submit’ and “Publish” to publish your changes to GTM.
Step 3: Preview the site
After adding the script, test your site to make sure the widget is properly installed and works as expected. Check all the widget’s functions to verify that the installation was successful.

